Git CLI (Command line interface) is simply known as the heart of GitHub. You can do almost anything with it. If you still don’t know what is GitHub, then you might have missed my first post on GitHub. I recommend you to read that tutorial first to get familiarized with GitHub’s terms and the git GUI tool for windows. You can read the post here: http://www.gautamkrishnar.com/github-for-beginners/
Ok! lets get started. As i had mentioned in my other post, you can use GitHub to host your own code. You can also use GitHub to collaborate on some other’s code. For example if you and your friend is doing a group project, you can use GitHub to work collaboratively on the same code, only your friend need to create a repository. you can also work on it. So first of all we can get started with working on our own repository
Working on your own repository
Assuming that you already have a Github account and you had created a new repository for your code. Go to www.github.com and Open your project repository. You can find all your repos at www.github.com/your_username.
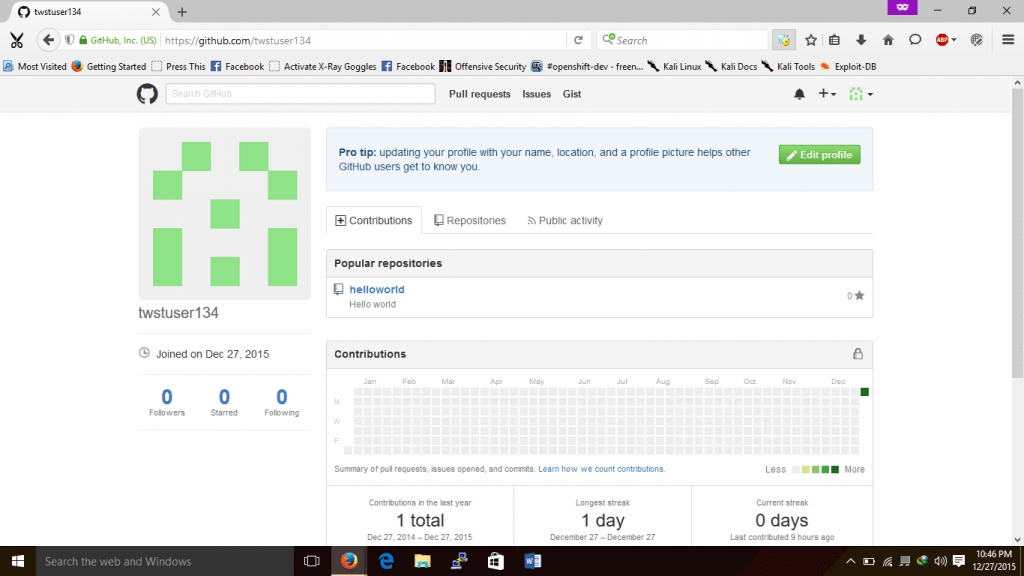
Just click on the repository name, you can now see something like this:
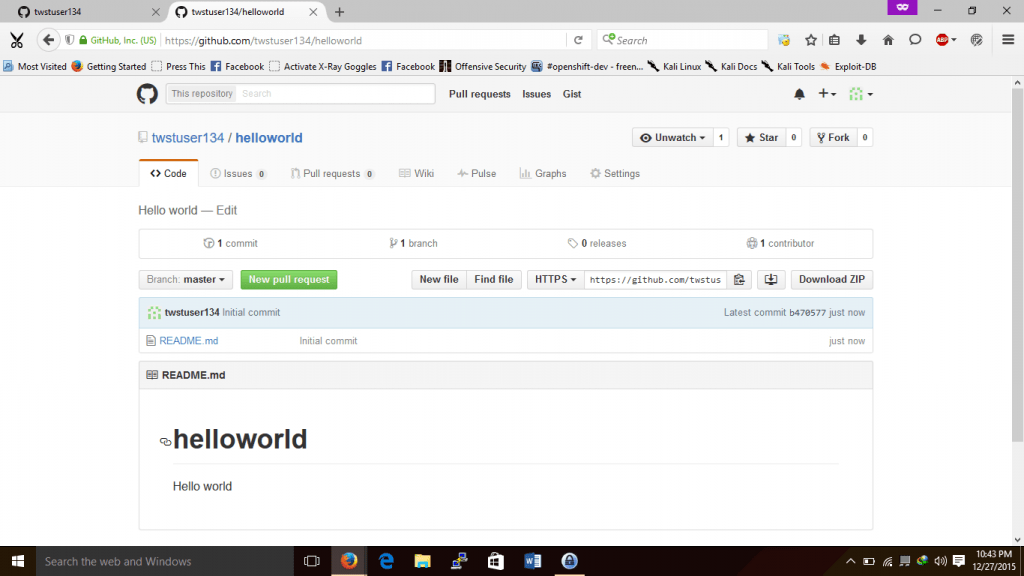
Note the url in the address bar. This is your repository url. You must need it throughout the tutorial.
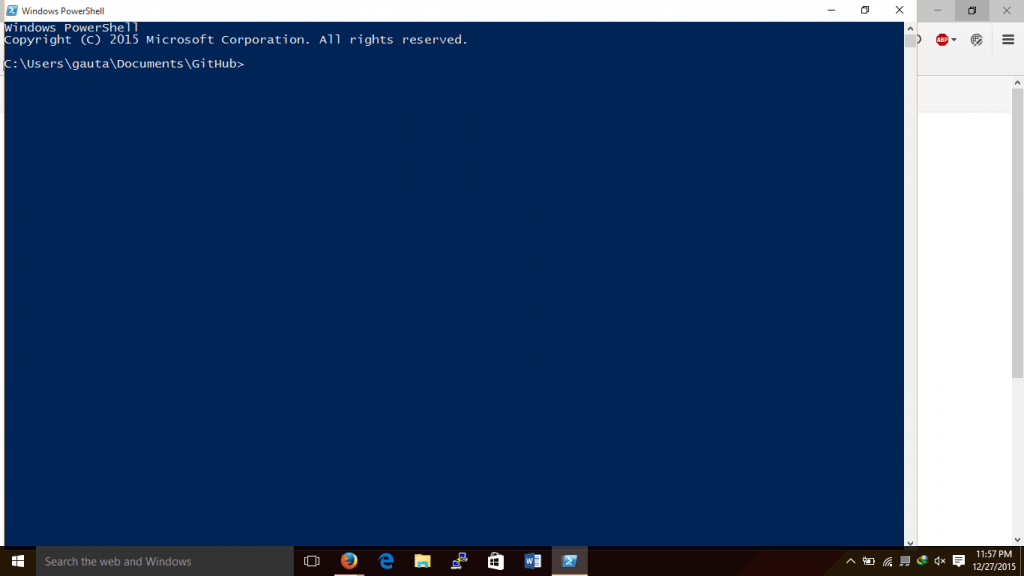
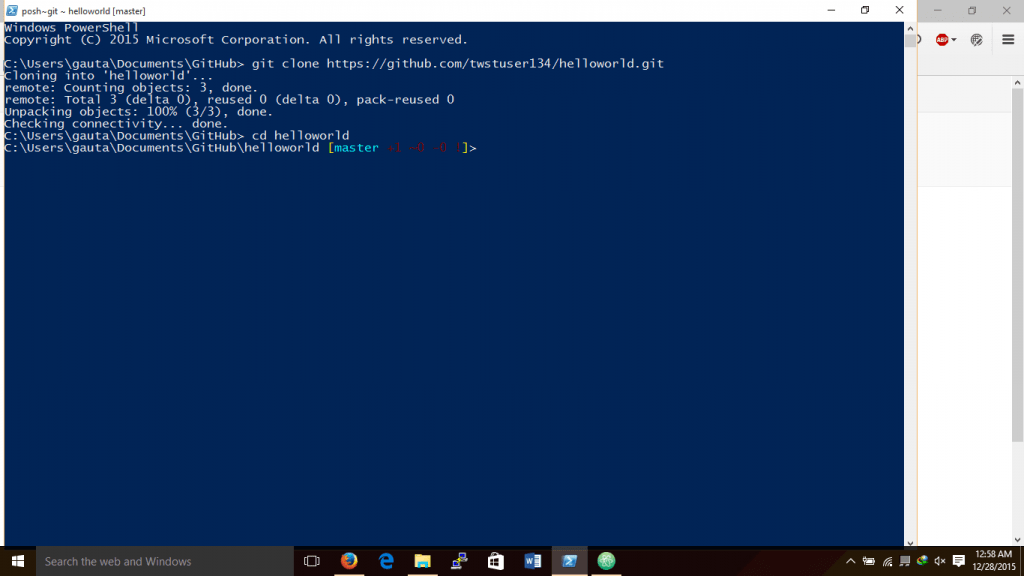
Assuming that you had installed the github for windows as i had mentioned in the previous tutorial. It provides a handy GUI for managing GitHub. It also have a CUI tool. We are going to use the CUI tool here. It is known as Git Shell.
Open the Git Shell by going to Start –> All apps (All programs) –> GitHub, Inc –> Git Shell
You can see a windows power shell window as shown below, this is your git shell:
Now what we are going to do is creating a local copy of our repository in our PC. For making changes to your repository and adding files to your repository you must first need its local copy. Simply creating a copy of your repository on your computer is known as cloning. To clone your repository we need your repository url. Type the following command and press the enter key:
git clone YOUR_GITHUB_REPO_URL.git
Where YOUR_GITHUB_REPO_URL is the url of your GitHub repo. Hope you noticed the “.git” at the end of url. Yes you need to add a .git extension at the end of your repo url to make it a clone-able url. Also note that there is no space in between the repo url and the .git extension.
So for our example user the repo url is: https://github.com/twstuser134/helloworld
Adding .git to the url gives: https://github.com/twstuser134/helloworld.git
So the command would be like this:
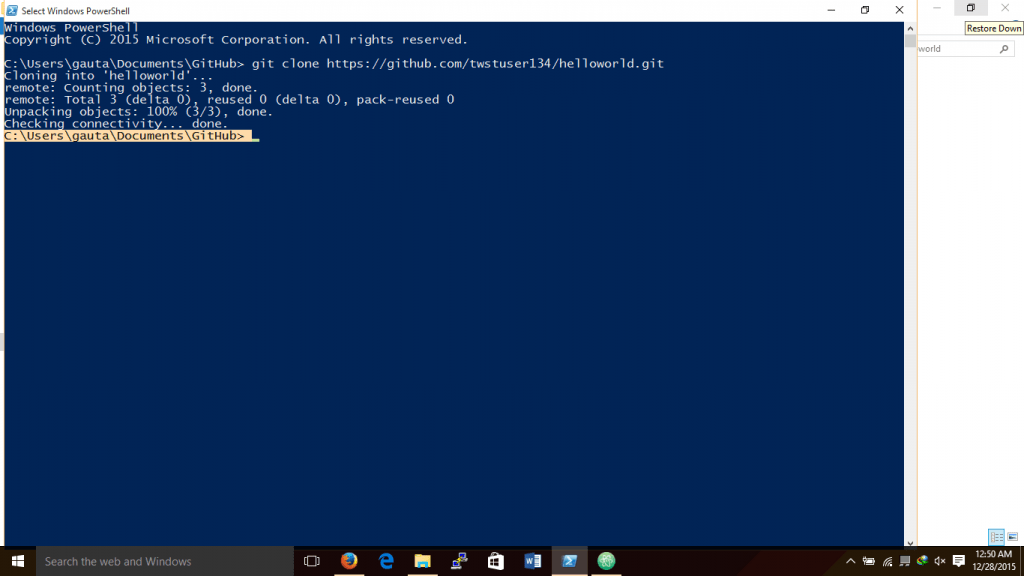
git clone https://github.com/twstuser134/helloworld.git
The output of the command will be as follows:
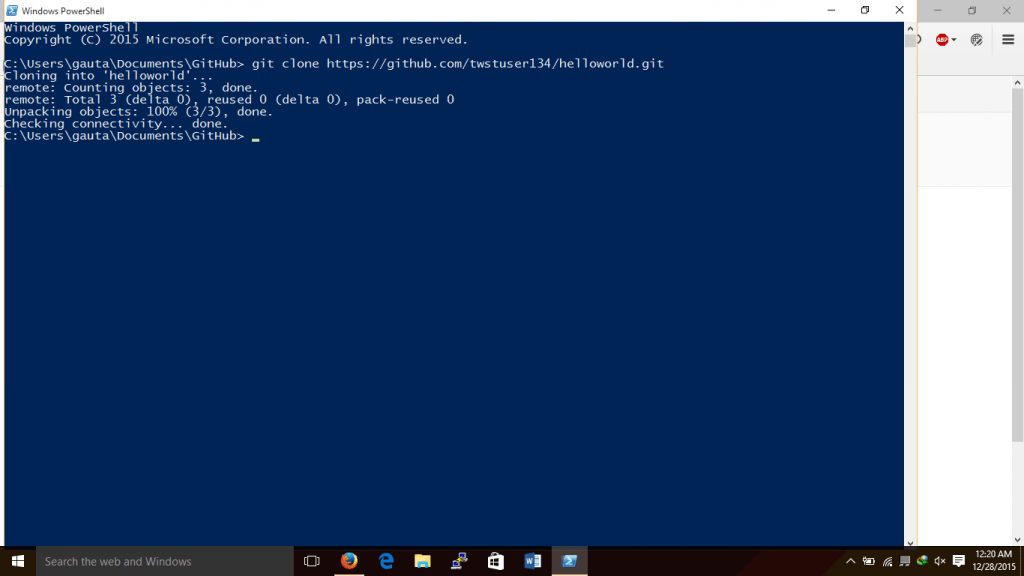
After cloning is complete you can see the cursor blinking on the shell waiting for the next command 😉
So now your repository will be available locally in your My Documents —> GitHub folder. You can explore that folder and you can see a sub-folder with the name of your repository.
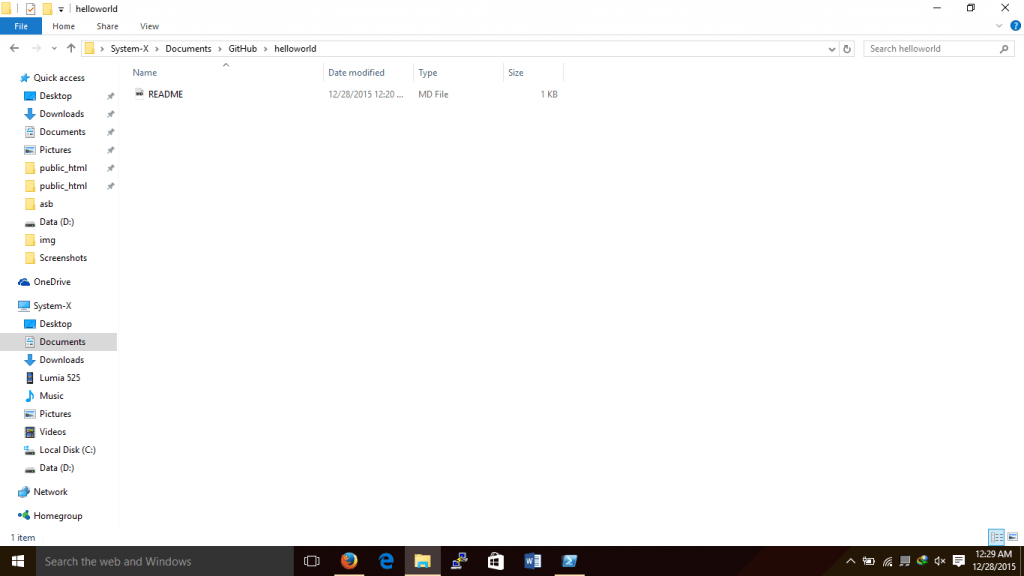
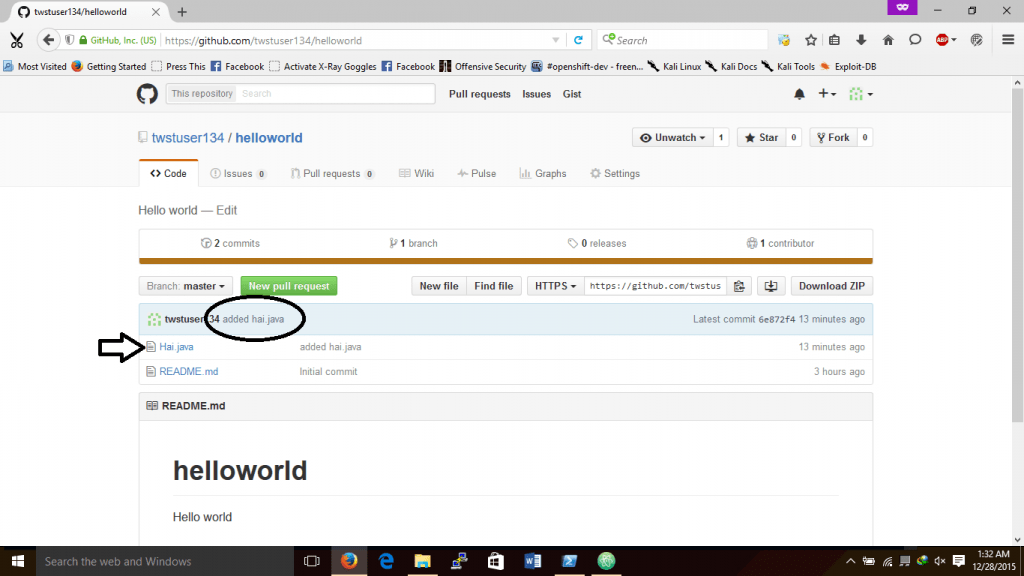
So lets come to our example. For our exanple user he has a helloworld repository with a readme.md file in it. (To know more about this file please refer my other tutotial) :
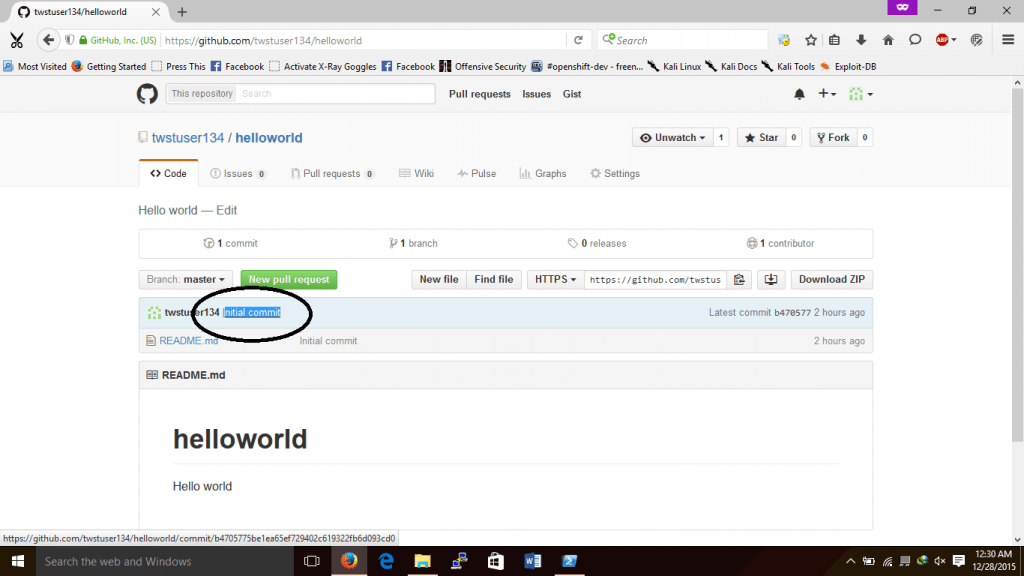
Also note the last commit description in your browser window, don’t worry we will learn about commits soon:
So what’s next? Now you have the copy of your repository on your pc. Lets add some files to your repository. You just need to copy the files to your repository folder to add it into your repository.
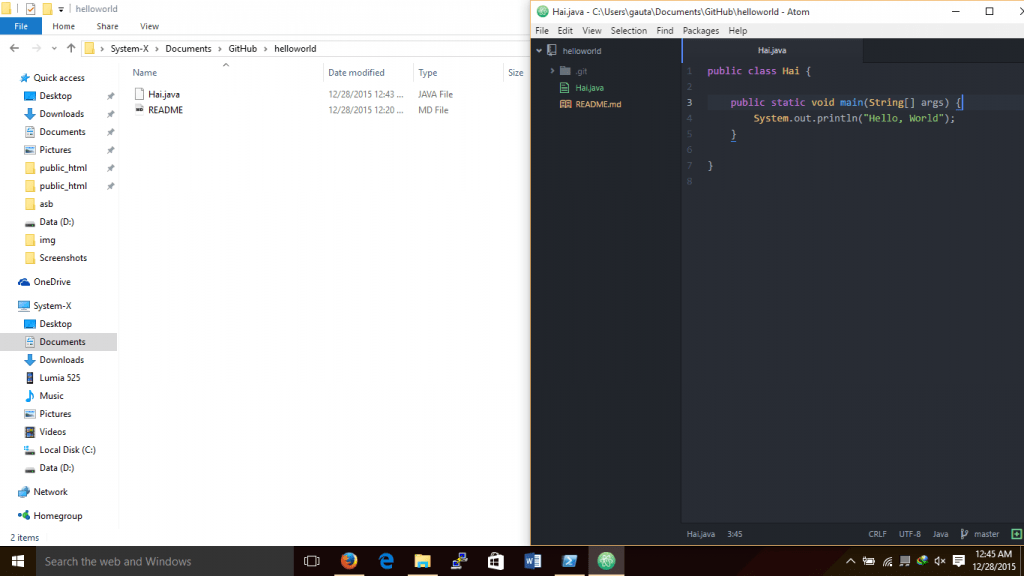
Lets take the case of our example user. He was working on a java project. So he just copied the Hai.java to his repository directory:
So now we had updated our local copy of the repository with some files. Lets upload it back to the GitHub. for this you need to go to your git shell again. you can see that the working directory of the shell is still GitHub root directory(highlighted in picture), not our repository directory:
We need to point our shell to our repository directory use following command to do it:
cd REPO_NAME
Where REPO_NAME refers to the name of your repository directory. That is same as your repository name.
So for our example user the name of the repository is helloworld the command will be as follows:
cd helloworld

Now we can see the shell has changed its working directory. Also we can see a text “master” which is our current branch, i will explain that later.
So the next step is uploading the code to GitHub. For this we must firsr need to do add files to the git. use the following command to do that:
git all –all .
So for our example user he enters the above command. We will not get any output this time. If you look closely you can see that the numbers near the master had changed. This means that our new file is added to the local index:
The next step is to do commit. Commit is simply a change of your repository. It describe what’s changed in your repository. Simply a commit is a version of your repository. A commit must include a commit description. You can include description of your choice. For doing a commit just type the following command:
git commit -m “commit description”
Now for our example user the commit command will be something like:
git commit -m “added hai.java”

If you want to add more files, you can do it. Sure to do git add and git commit command as above to add those files to git.
Now all your changes are updated on your local repo. Now you need to upload it to the GitHub. It is known as pushing. Just type the following command to do that:
git push
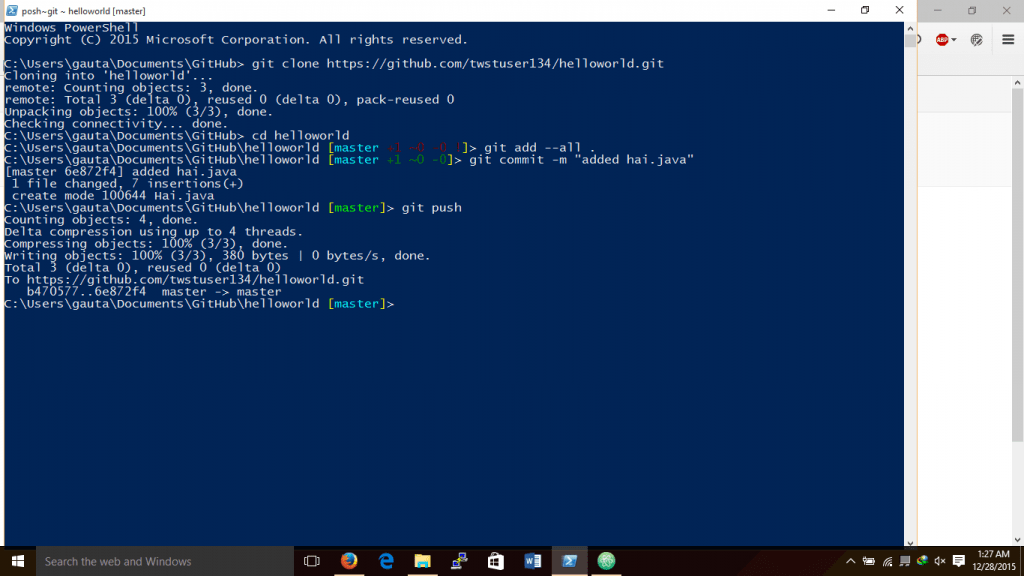
Your changes has been now uploaded to GitHub servers. Please note that this may take some time depending on your internet connection. Now refresh your browser you can see that the commit description has been changed with the new one.you can also see the new file in the repository:
Yes! you have done it. 🙂 you can add even more files to your local repo or edit them. After making changes you can again use git add, git commit and git push command as above for working with your GitHub repository.
Working on someone’s repository
Ok lets learn how you and your friend can collaborate on the same code. Lets assume that our example user and me was working on a website and its code is hosted on my repository: https://github.com/gautamkrishnar/test
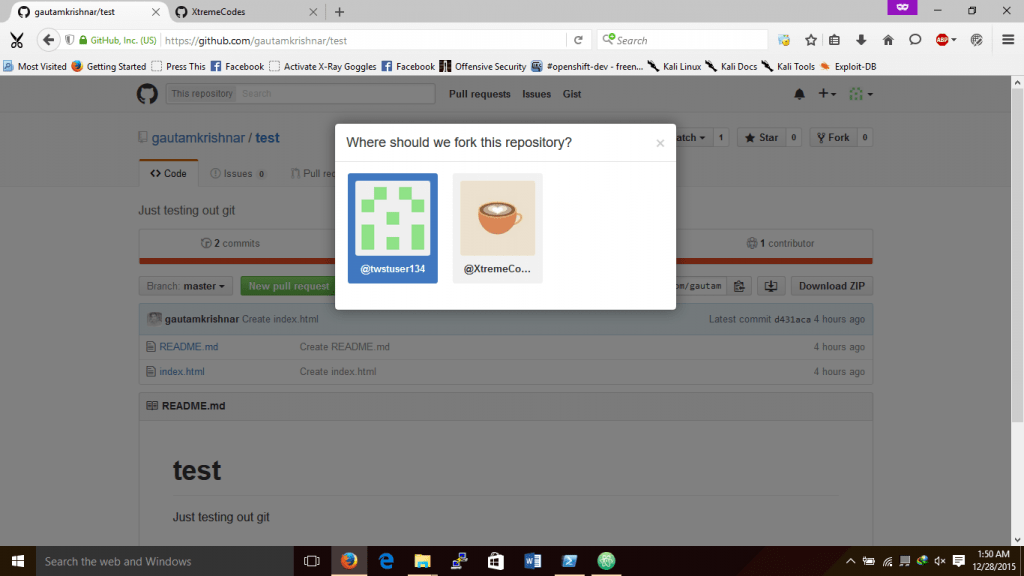
So the first step the example user need to do is forking his own copy of that repository. For this he has to visit my GitHub repo and need to click on the fork button:
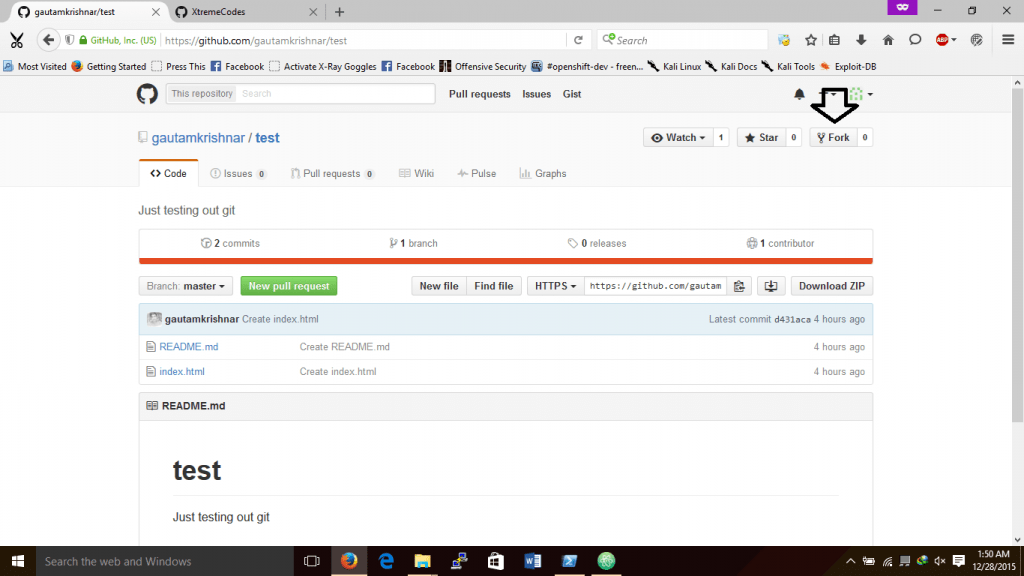
Be sure to select your own account if you are part of some organization:
Then you can see this:
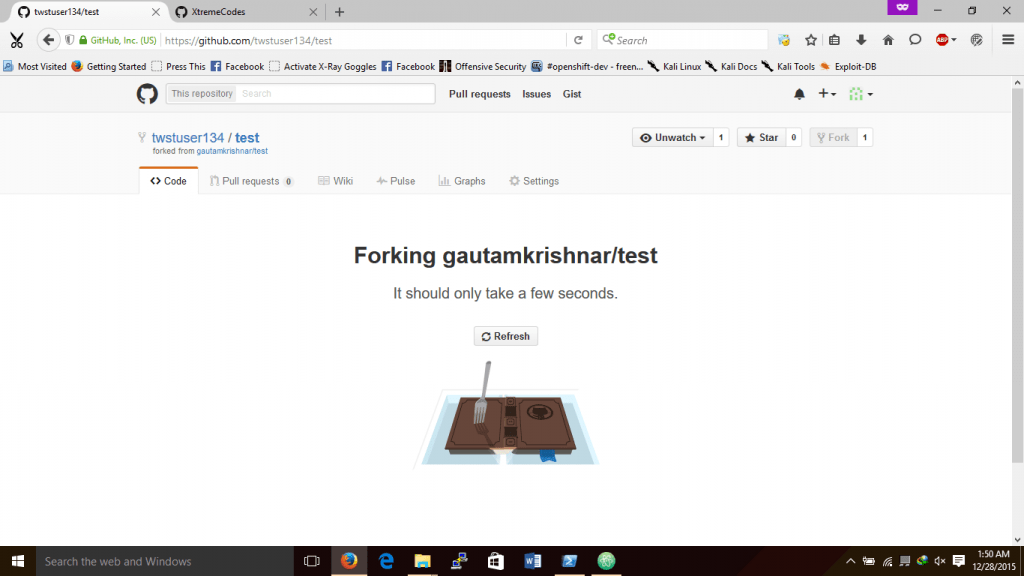
After completing the forking now you can see your own copy (fork) of the GitHub repo:
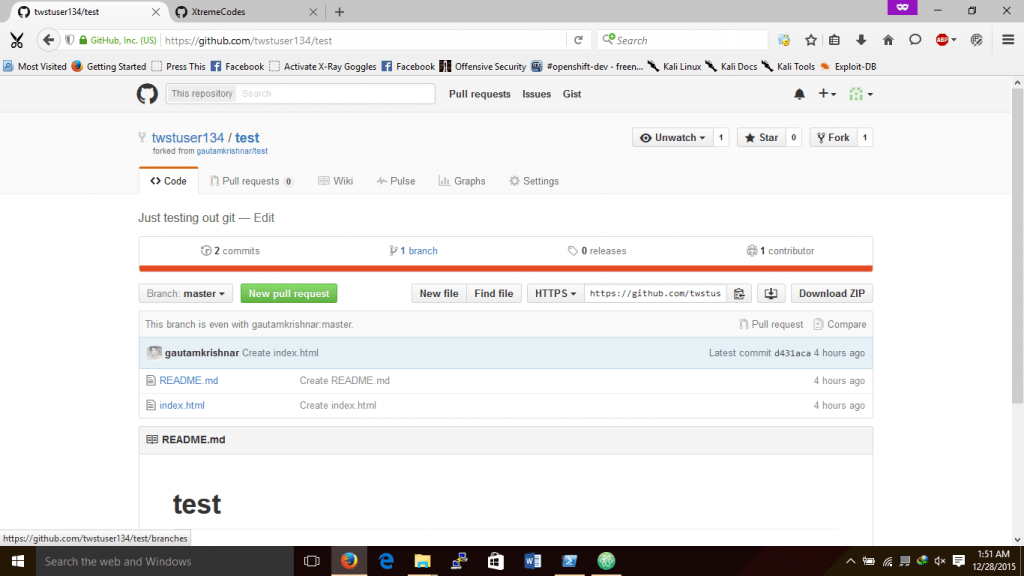
You can now see the repo in your profile.
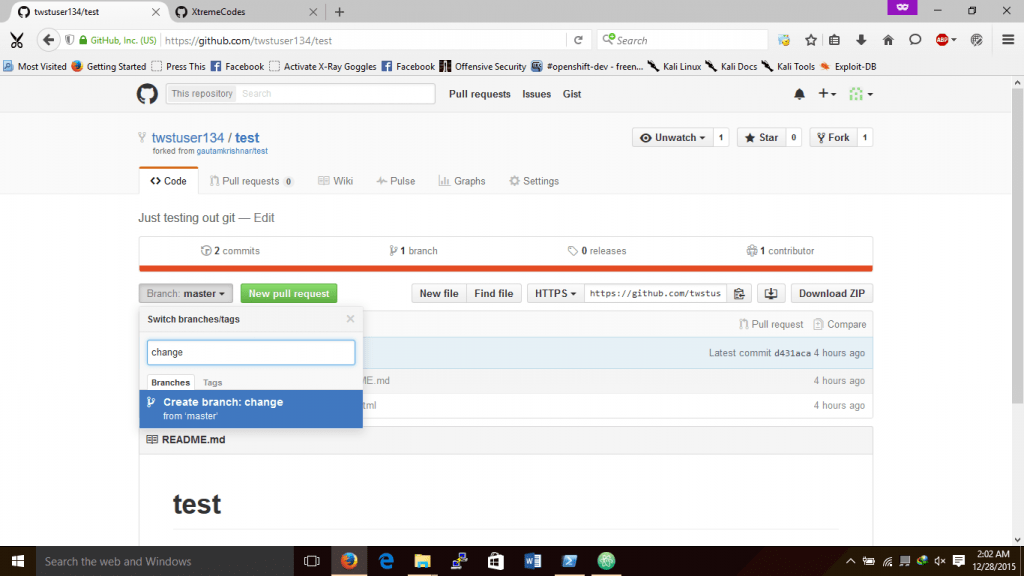
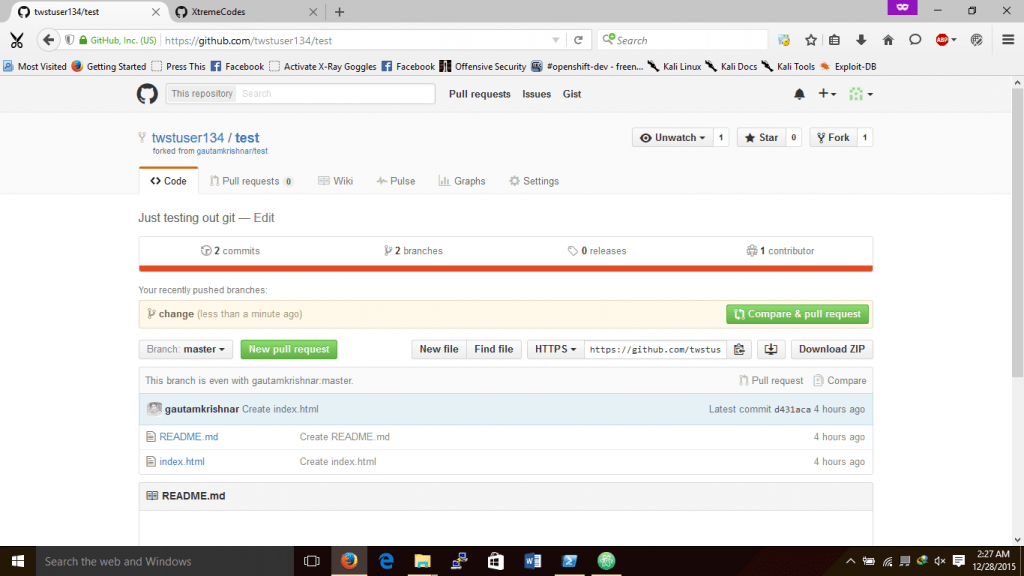
So before making any changes you must create a new branch for your change. Just click on the “master” text and type your branch name, then press enter. (here branch name is typed as “change”):
Now the branch is created. Now we can clone this repo to our PC using the steps given in the last section. (please remember that after creating a branch the url of your repo will be shown as yourrepo/tree/branch_name, This is because you are currently viewing the branch. For example here the url shown is: https://github.com/twstuser134/test/tree/change but the actual repo url is https://github.com/twstuser134/test. Please use the correct url of your repo in the clone command.
Now the example user will type the command as:
git clone https://github.com/twstuser134/test
He also need to switch the branch using:
git checkout branchame
Where branch name is the name of the branch we created earlier. Why we use branching is explained here: https://git-scm.com/book/en/v2/Git-Branching-Basic-Branching-and-Merging
now you can see the local repo folder with a index.html file in it.
Example user will edit it, add files he want. Then type the following commands:
git add –all .
git commit -m “edit index file”
git push
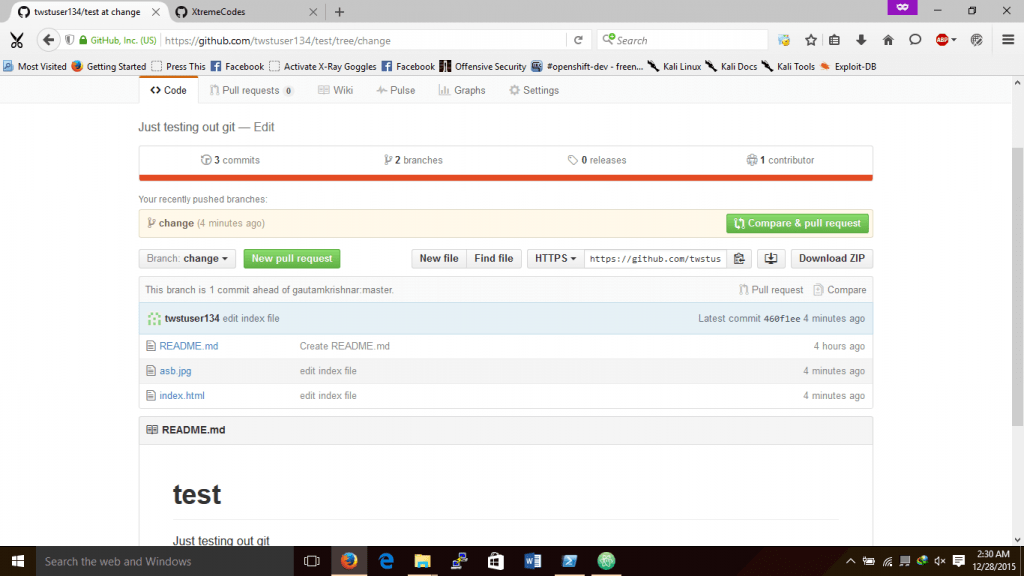
now refresh the browser and you can see this:
wee cannot see any change in the master branch. Switch to change branch to see the new files:
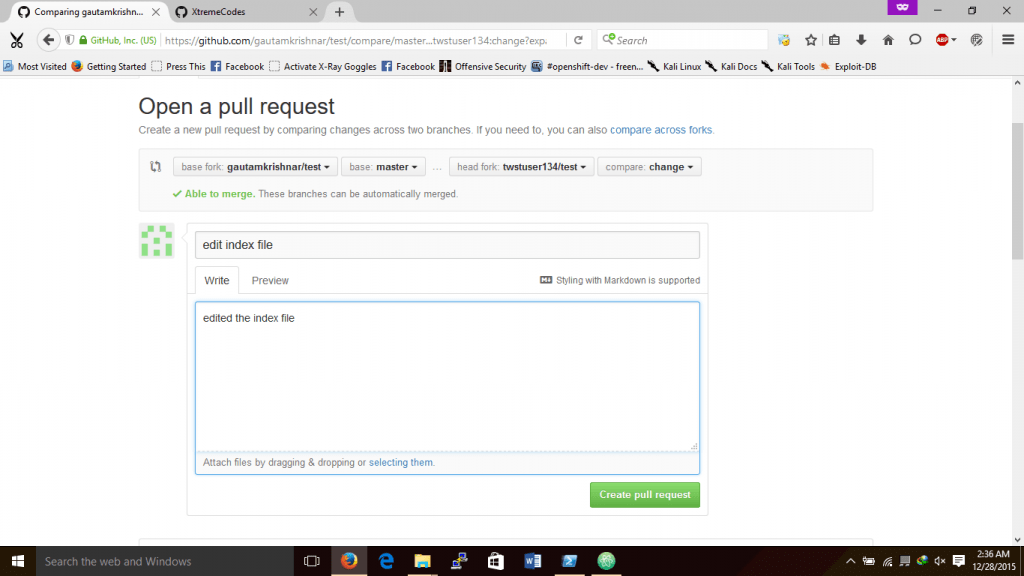
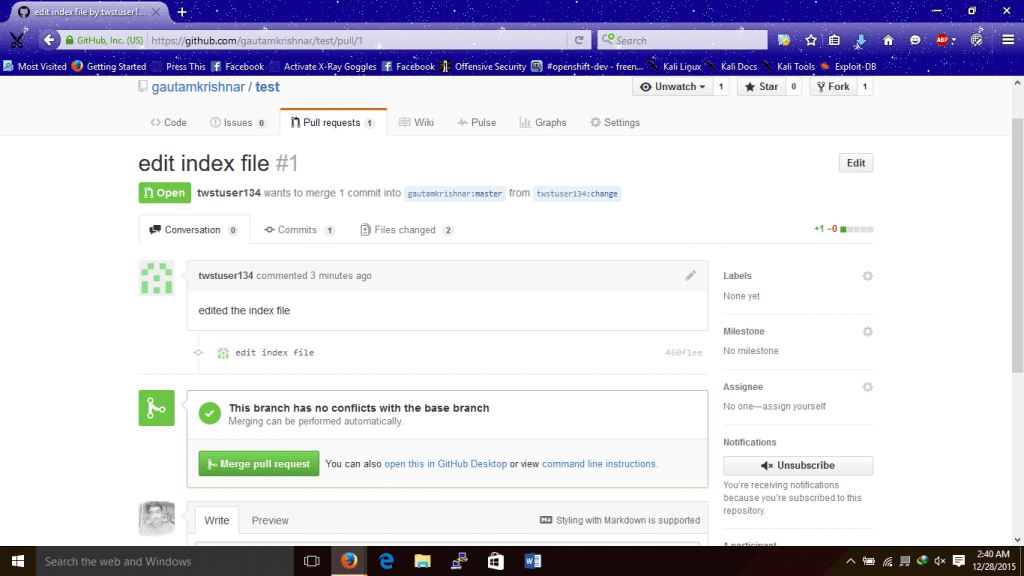
Now its time to merge your changes with your friend’s repo. For this you must create a pull request. Just click on the Pull Compare and pull request button to create a pull request which your friend can accept and merge the code.
Fore example the example user is creating a new pull request:
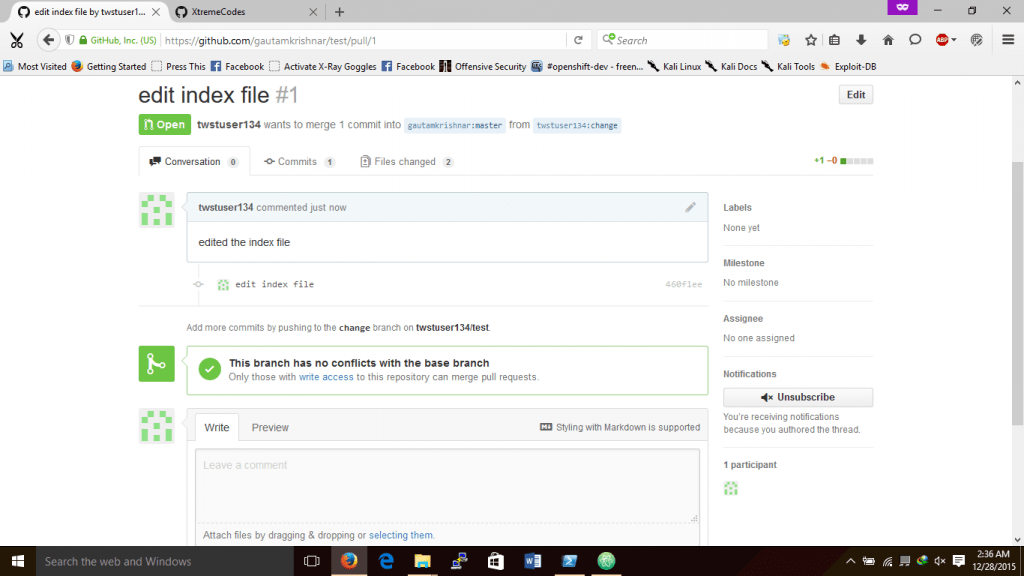
In my account i will get a new notification about the pull request:

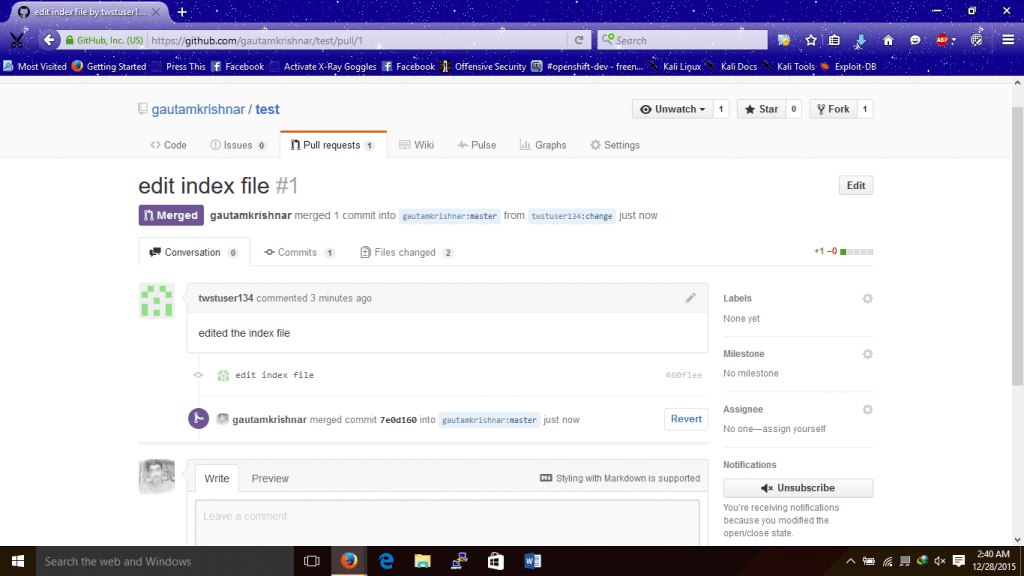
By clicking on merge pull request button, i can easily merge the changes with my own repo.
Follow me on GitHub at: http://github.com/gautamkrishnar/
You just learned the basics of git now. There’s a lot more to learn. Checkout the GitHub help
Happy coding…. 😀
Nice,
very helpfull.
Really Interesting…